Documo Basics: Sending Faxes
Sending a Fax
Using Documo to send a fax is similar to sending an email. When you first log in to Documo, it will take you to the Fax page:
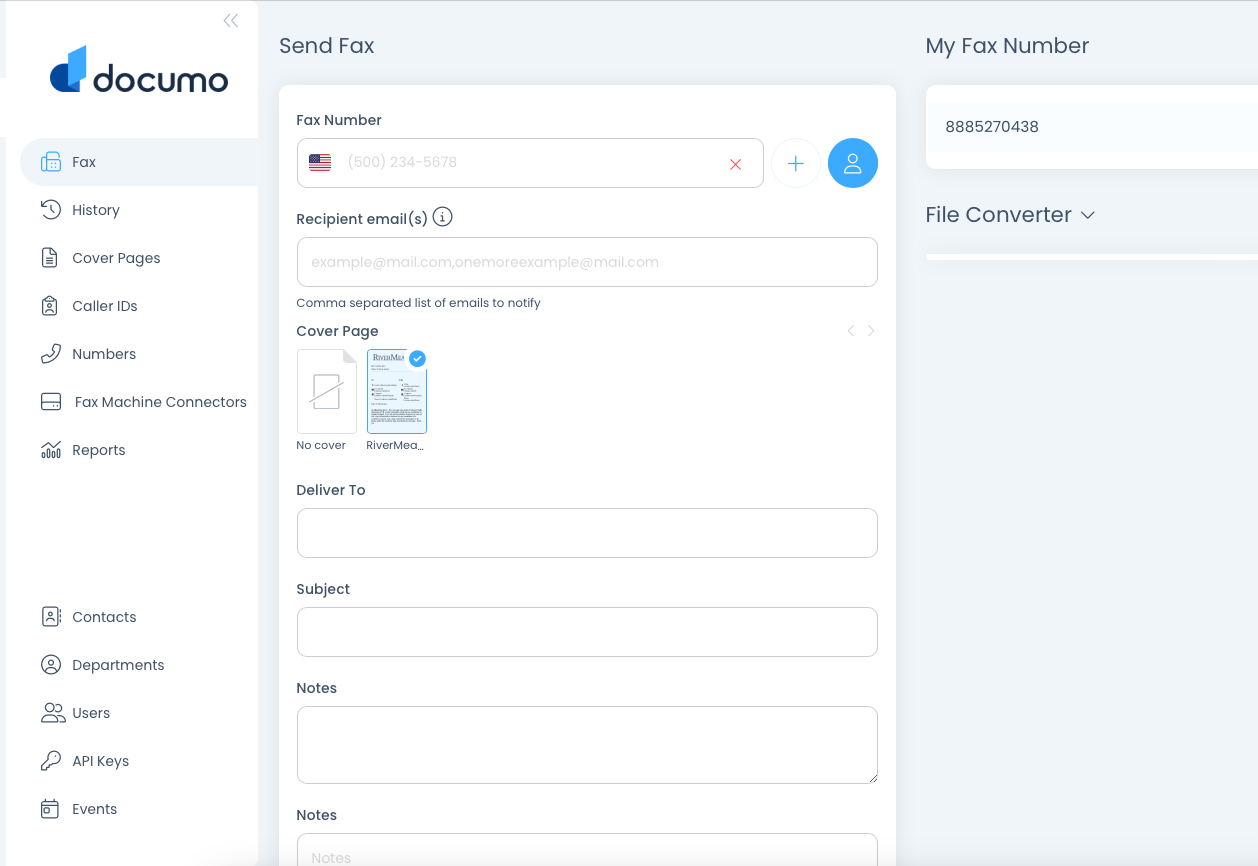
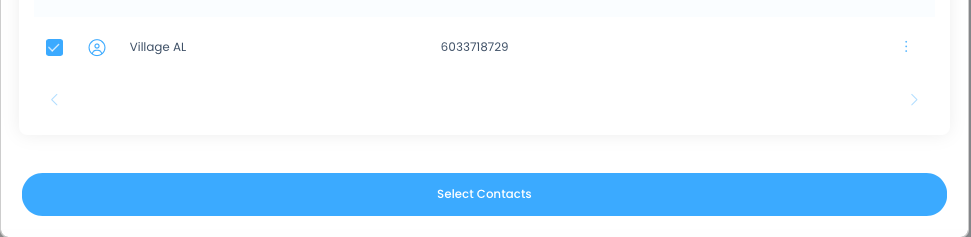
Type the number you are faxing to in the “Fax Number” box or select the blue button on the right side to select a number from the contact book. If you select a number from the contact book, check the box to the left of the contact you’d like to fax to and then click the blue “Select Contacts” button at the bottom of the page:
You can skip entering the recipient email.
Each of the information fields (“Deliver To”, “Subject”, and “Notes”) will fill in that information on the cover page. See below for an example:
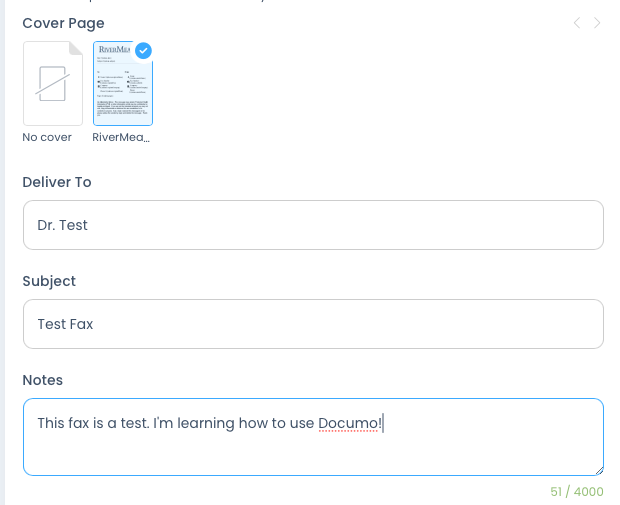
Entering this information….
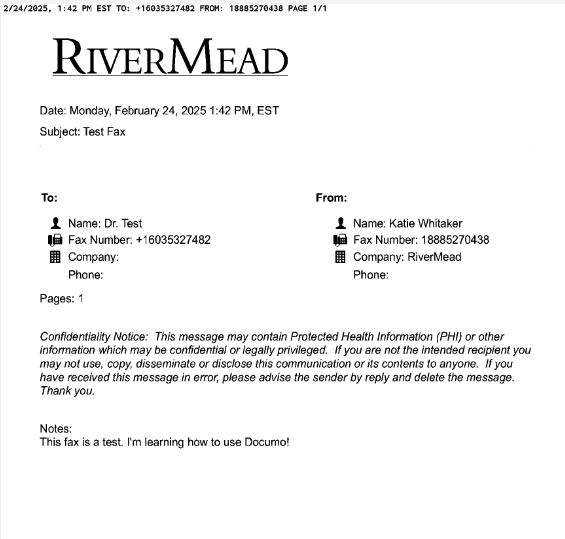
…generates a cover page that looks like this!
Select your file that you would like to fax by either clicking here to pick from your file explorer or dragging and dropping the file here:
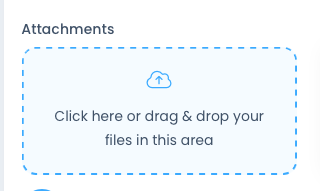
If you are using Documo on an iPad, you can also scan in a physical document right from the app and attach it to your fax.
Once you’ve filled out all of the fields and attached your file, you can click the Preview button at the bottom of the page to see what your fax will look like, or you can click the Send button to send your fax. When you click Send, you will see a pop-up that looks like this:
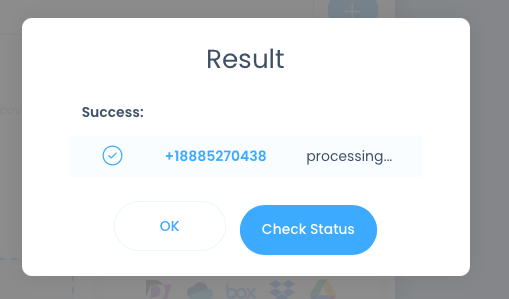
Click “Check Status”. You will be brought to the History page, where you’ll see the fax you just sent:
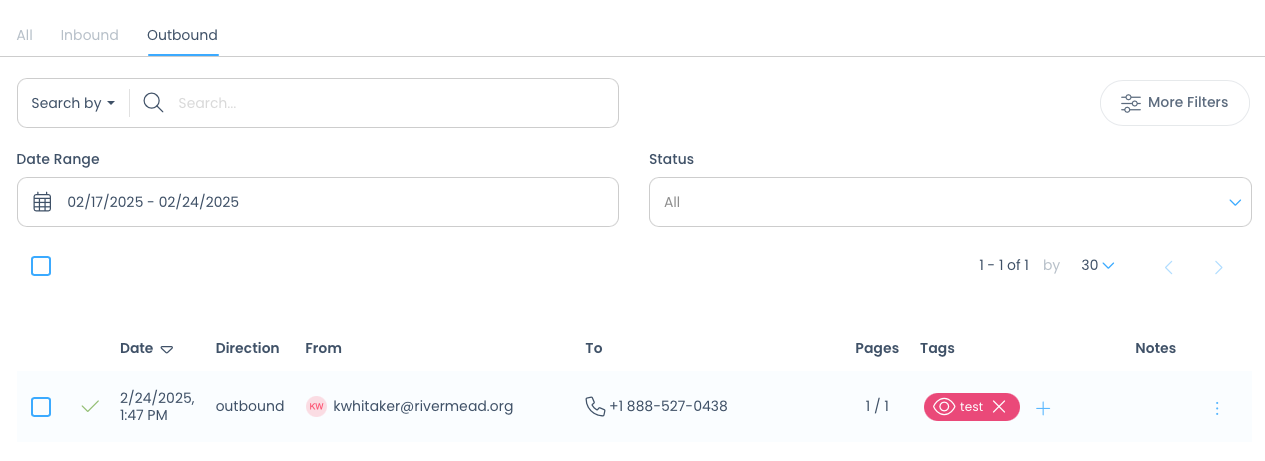
If you see a green checkmark on the left side, your fax was sent successfully! If your fax failed to send, you will see a red X. This could be because the receiving number was incorrect, the receiving fax machine was turned off, etc. If the faxes you are sending continue to fail, please check with the recipient or contact Network Coverage for assistance.
You’re done! For instructions on how to access faxes you’ve received, visit: Documo Basics: Receiving Faxes
No comments to display
No comments to display