How to change your default printer
If you are continuing to have issues, please reach out to Network Coverage or RiverMead IT.
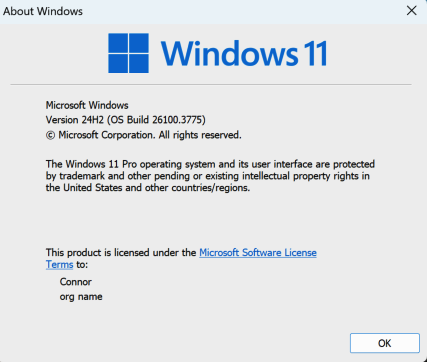
How to check your Windows Version:
-
On your desktop, head to the bottom left section where you have the windows logo, and search bar. This could be at the center of your taskbar as well.
-
Once found, type in “winver” and hit enter. A window should appear telling you your windows version.
If there are any questions, please reach out to RM IT or NetCov.

-
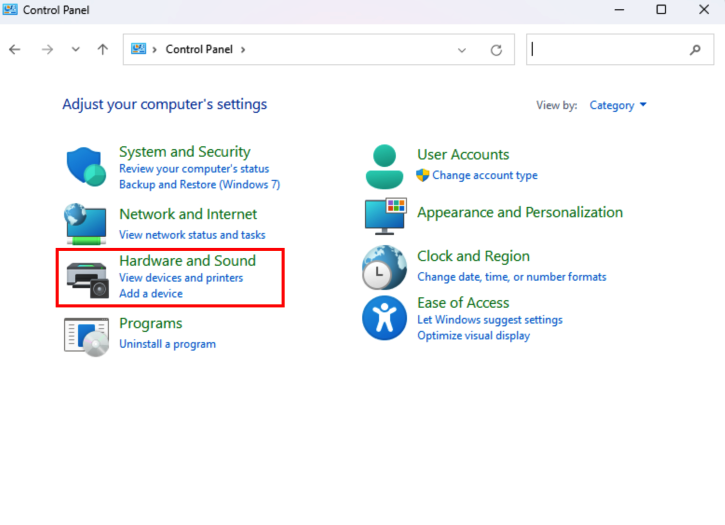
On your machine, hit the windows key on your keyboard, or navigate to the bottom left of the screen and click on the search box. From there, type “Control Panel”
-
From the main control panel window, click “Hardware and sound” and than “Devices and printers”

If you are on Windows 11, please head to section 3 B.
-
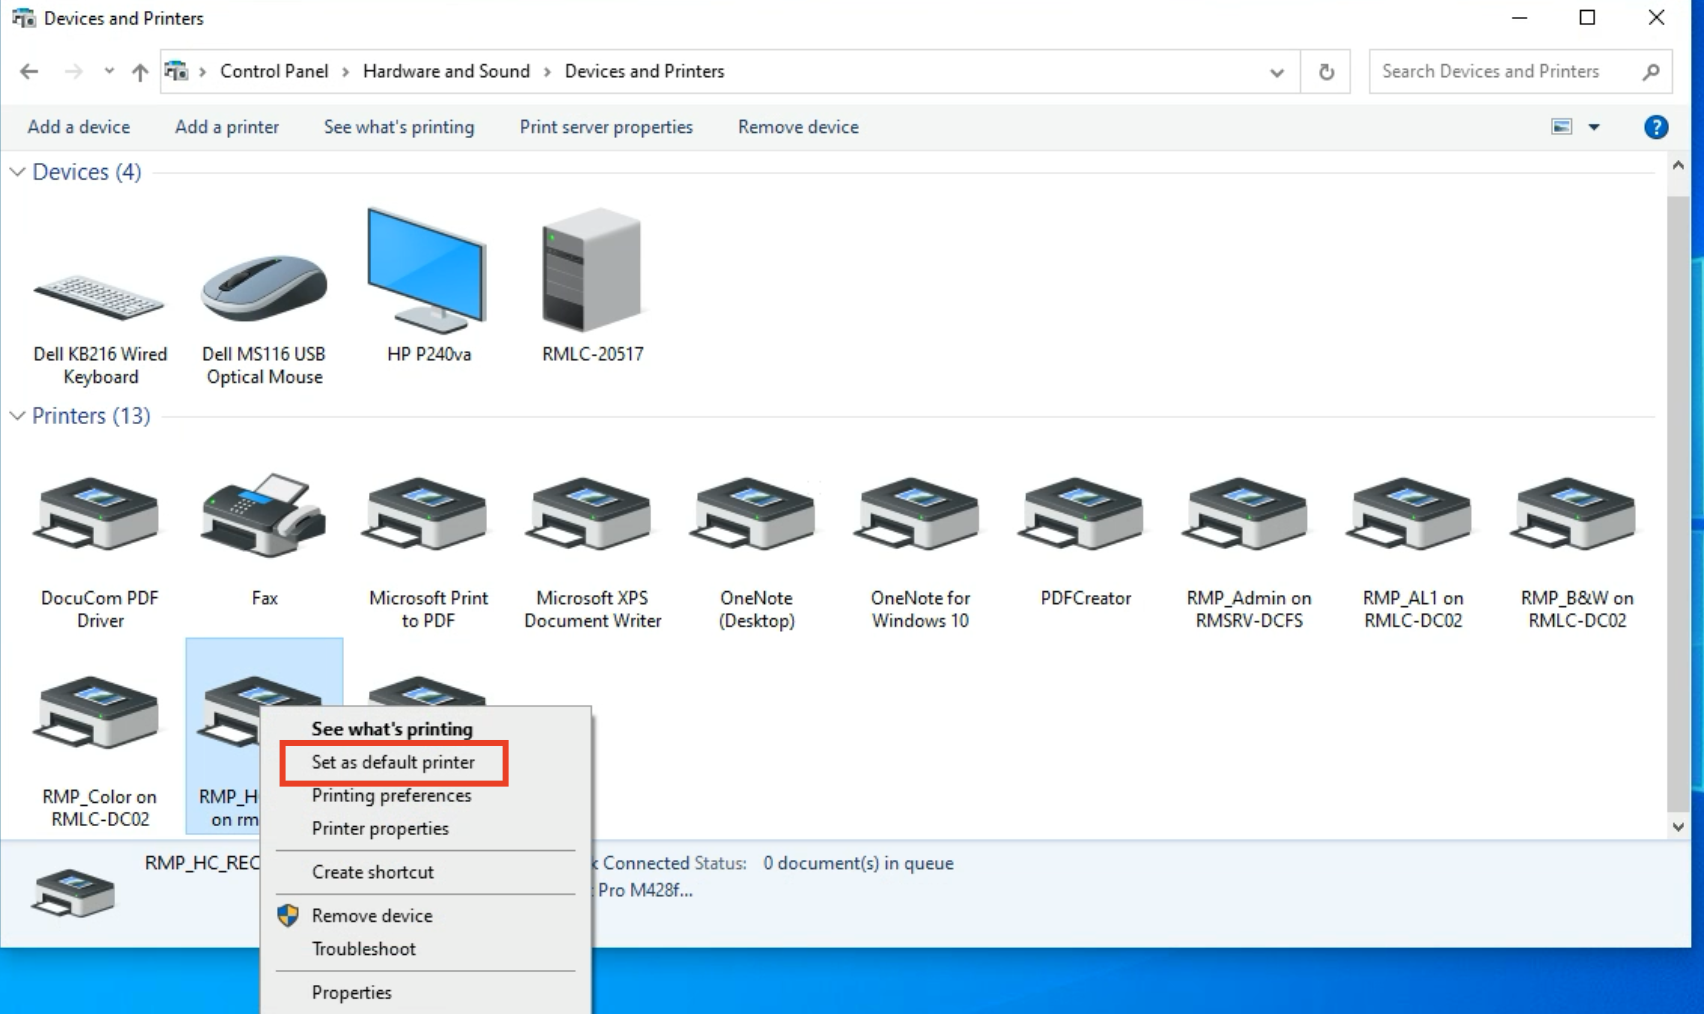
Once you click on hardware and sound, follow the below steps. Please read the note above to go to the correct section.
a. On windows 10, find the printer name that you need as your default, right click it, and hit “Set as default”
b. For windows 11, your settings window will open, ensure that the “Let windows decide your default printer” slider is ticked to off. This should be already if your computer is on domain.
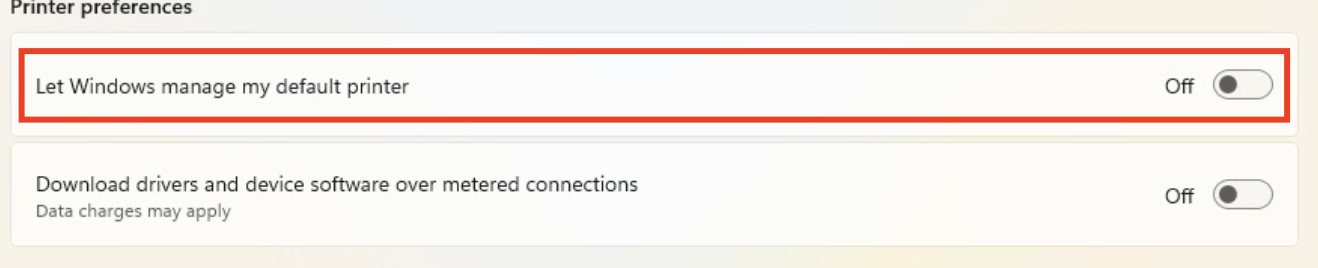
Once you have verified this is disabled, left click the printer you would like set as your default, and click “Set as default” once this is done, you should be all set!

No comments to display
No comments to display