PaperCut Documentation
Logging into copier to releasing print jobs, scan documents and copy
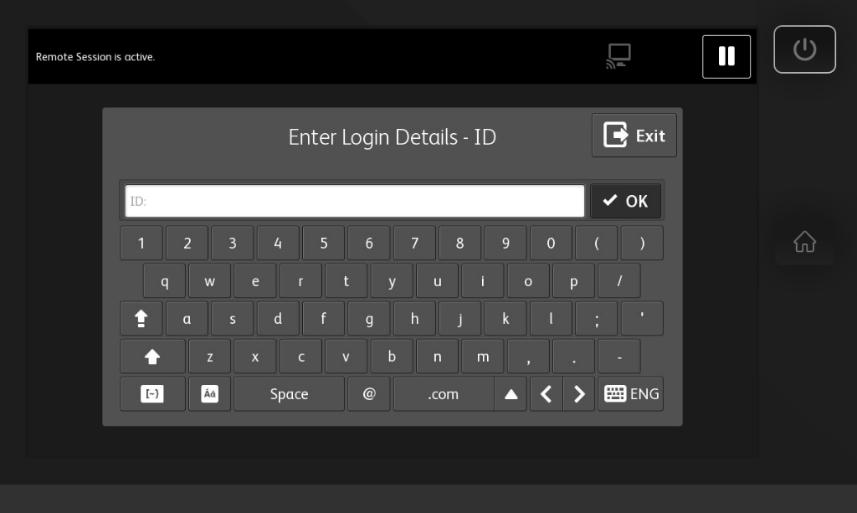
Step 1
Press the keyboard icon in the top right corner of the screen.
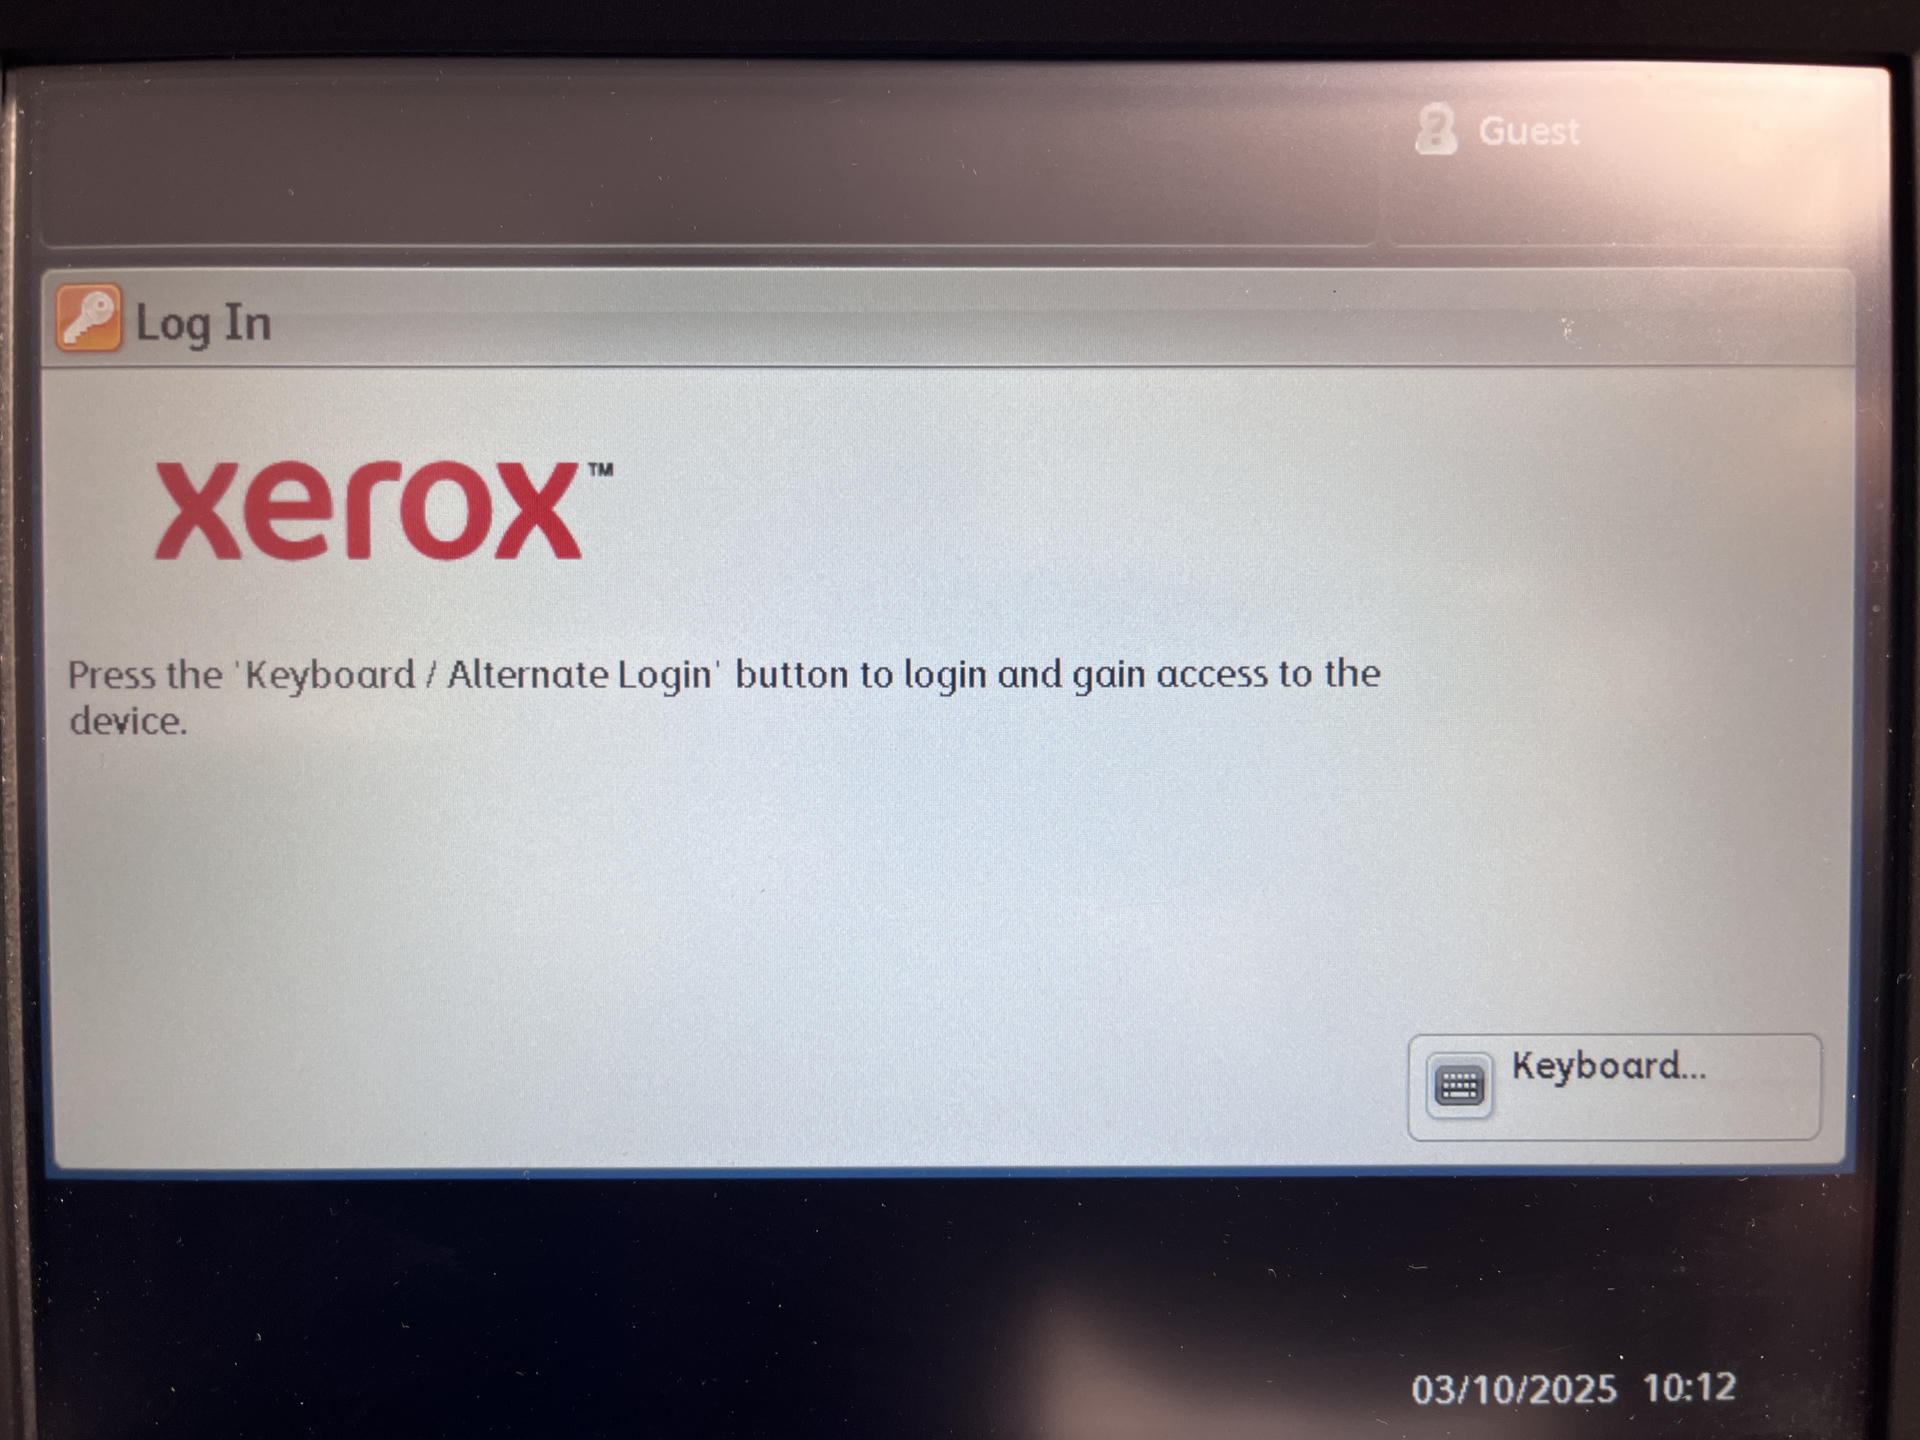
If you are printing at the Mead, please see the image below. Select keyboard in the bottom right, and you can use the physical keypad to enter your pin code. From there, all other PaperCut functions are the same.
Step 2
Enter in your PIN Code and OK.
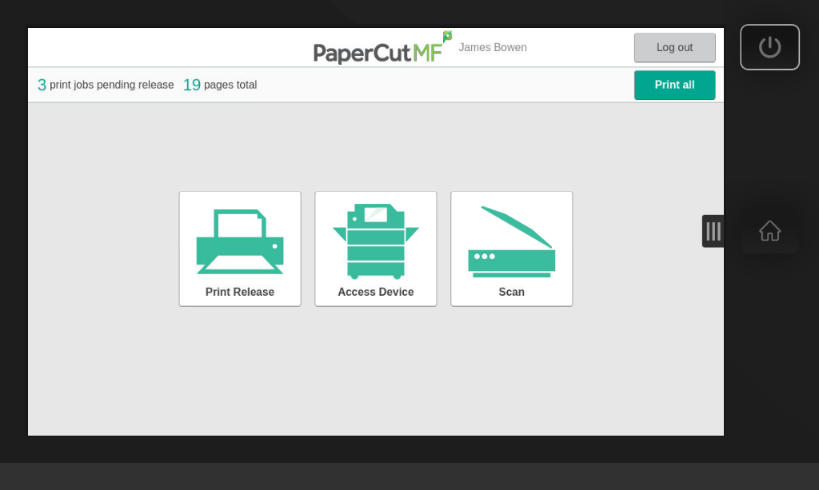
Step 3
Select from the choices of:
-
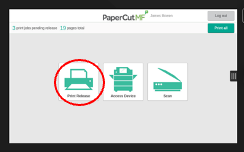
Print Release
-
Accessing Device to make a copy
-
Scan
Releasing print jobs from copiers
Print jobs will now be securely stored until the user logs into any networked Multifunction - Copier and releases or deletes the print job(s) in queue. Any jobs left in the queue, unreleased / printed for more than 4 hours will be automatically erased
Step 1
Select the “Print Release” option from the menu
Step 2
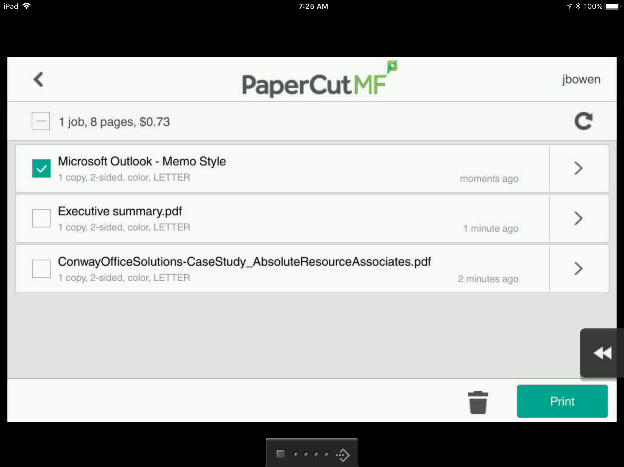
Choose the jobs that you want to print and press the “Print” button.
Step 3
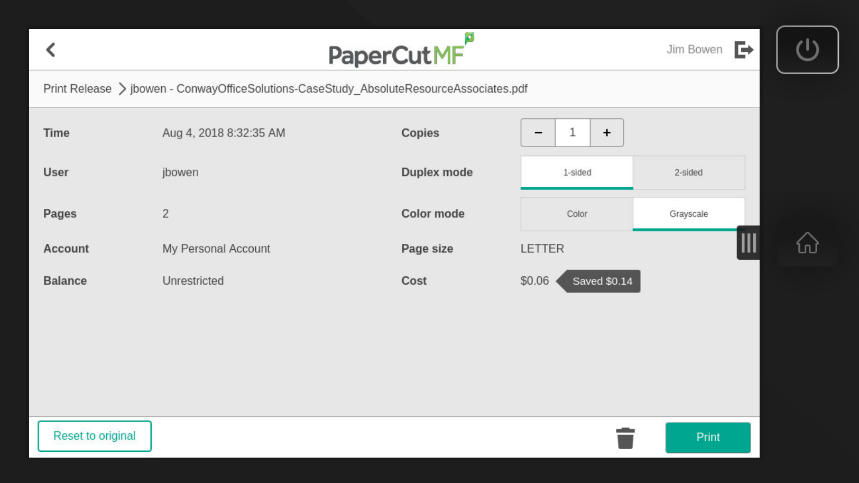
The number of copies, and other settings, can be changed by selecting the > to the right of a print job.
Scanning Features
Step 1
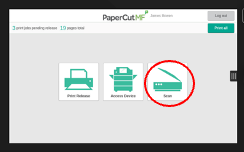
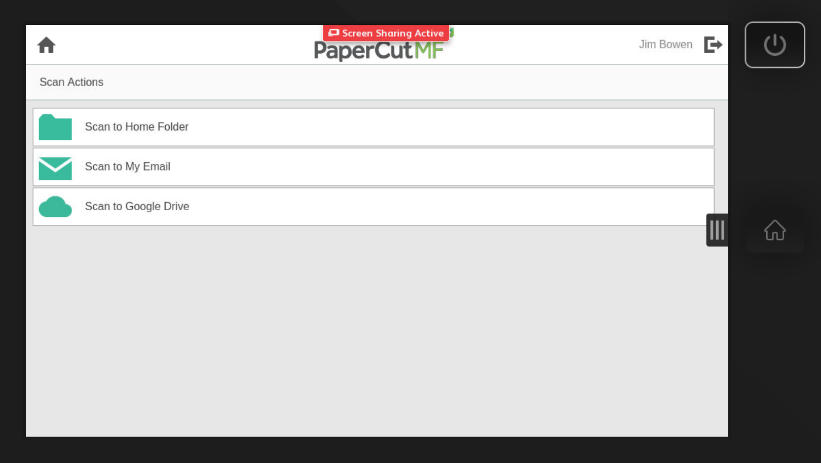
Select the “Scan” option from the menu
Step 2
Choose between your scanning options:
-
Send to your email
-
Send to your Scans folder
-
Send to your Google Drive
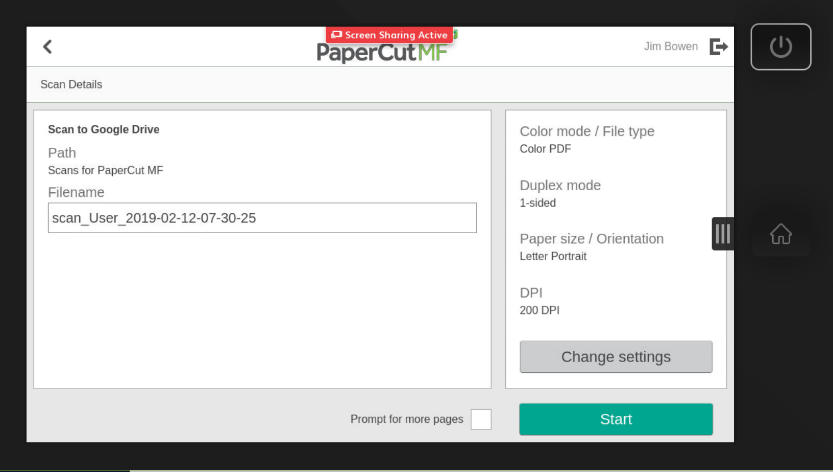
Step 3
Select Change Settings to change the default scanning options.
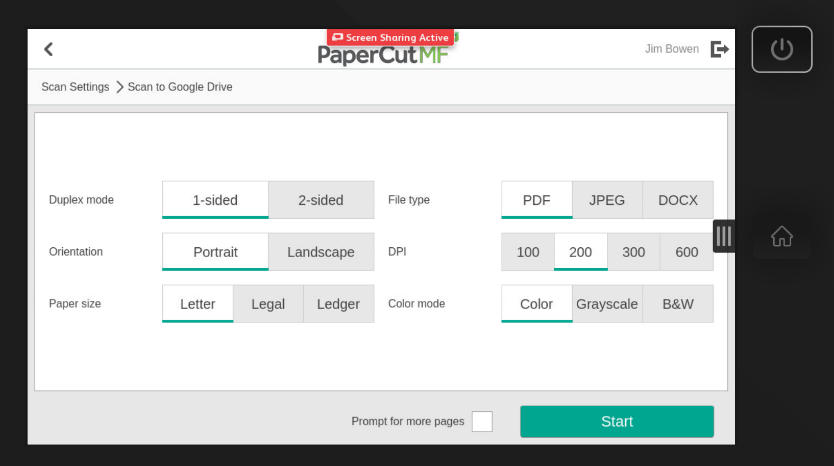
Step 4
Scan Setting s include:
-
Scan a 1 or 2-sides of document
-
Scan in color or B/W
-
Paper size
-
Change file type
Copy Features
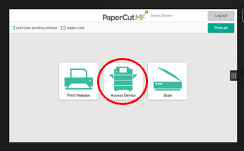
Step 1
Select the “Access Device” option from the menu
Step 2
You will be taken to the copy screen

No comments to display
No comments to display